One of the most powerful tools for monitoring your business’s online presence is Google Analytics. Google Analytics, or GA4, provides real-time data on the performance and health of your business’s website. This article explains the setup process for how to set up Google Analytics for your business, enabling you to monitor your website and gain powerful insights through this analytics tool.
Why Google Analytics Is Essential For Growth
Before jumping into the setup, it’s worth understanding why Google Analytics is such a powerful tool. GA4 gives you real-time insight into how people are actually using your website, like what pages they visit, how they got there, how long they stay, and what actions they take. It’s information that helps you make smarter decisions about your marketing and website content.
It’s not just about tracking numbers, either. With Google Analytics, you can spot trends, figure out what’s working (and what’s not), and get a better sense of how to reach your goals online. Whether you’re a small business or a growing brand, setting it up is one of the easiest steps you can take to start making data-driven decisions.
How To Set Up Google Analytics For Your Business
Step 1: Create a Google Analytics Account
- Go to Google Analytics.
- Click the Start for free button.
- Sign in with your Google account credentials.
- Once logged in, you’ll be prompted to set up your account. Enter your Account Name, which is usually your business name.
Step 2: Set Up a Property in Google Analytics
A Property in Google Analytics represents your website or app. You can create multiple properties for different websites or mobile apps under one account.
- After setting up your account, click “Create Property.”
- Fill in details about your website or app:
- Property Name: Enter the name of your website or app.
- Reporting Time Zone: Set this to your business location’s time zone to ensure accurate reporting.
- Currency: Choose the currency your business operates in.
- You’ll then have to enter your business details, such as the number of employees within your business and the industry that you work in.
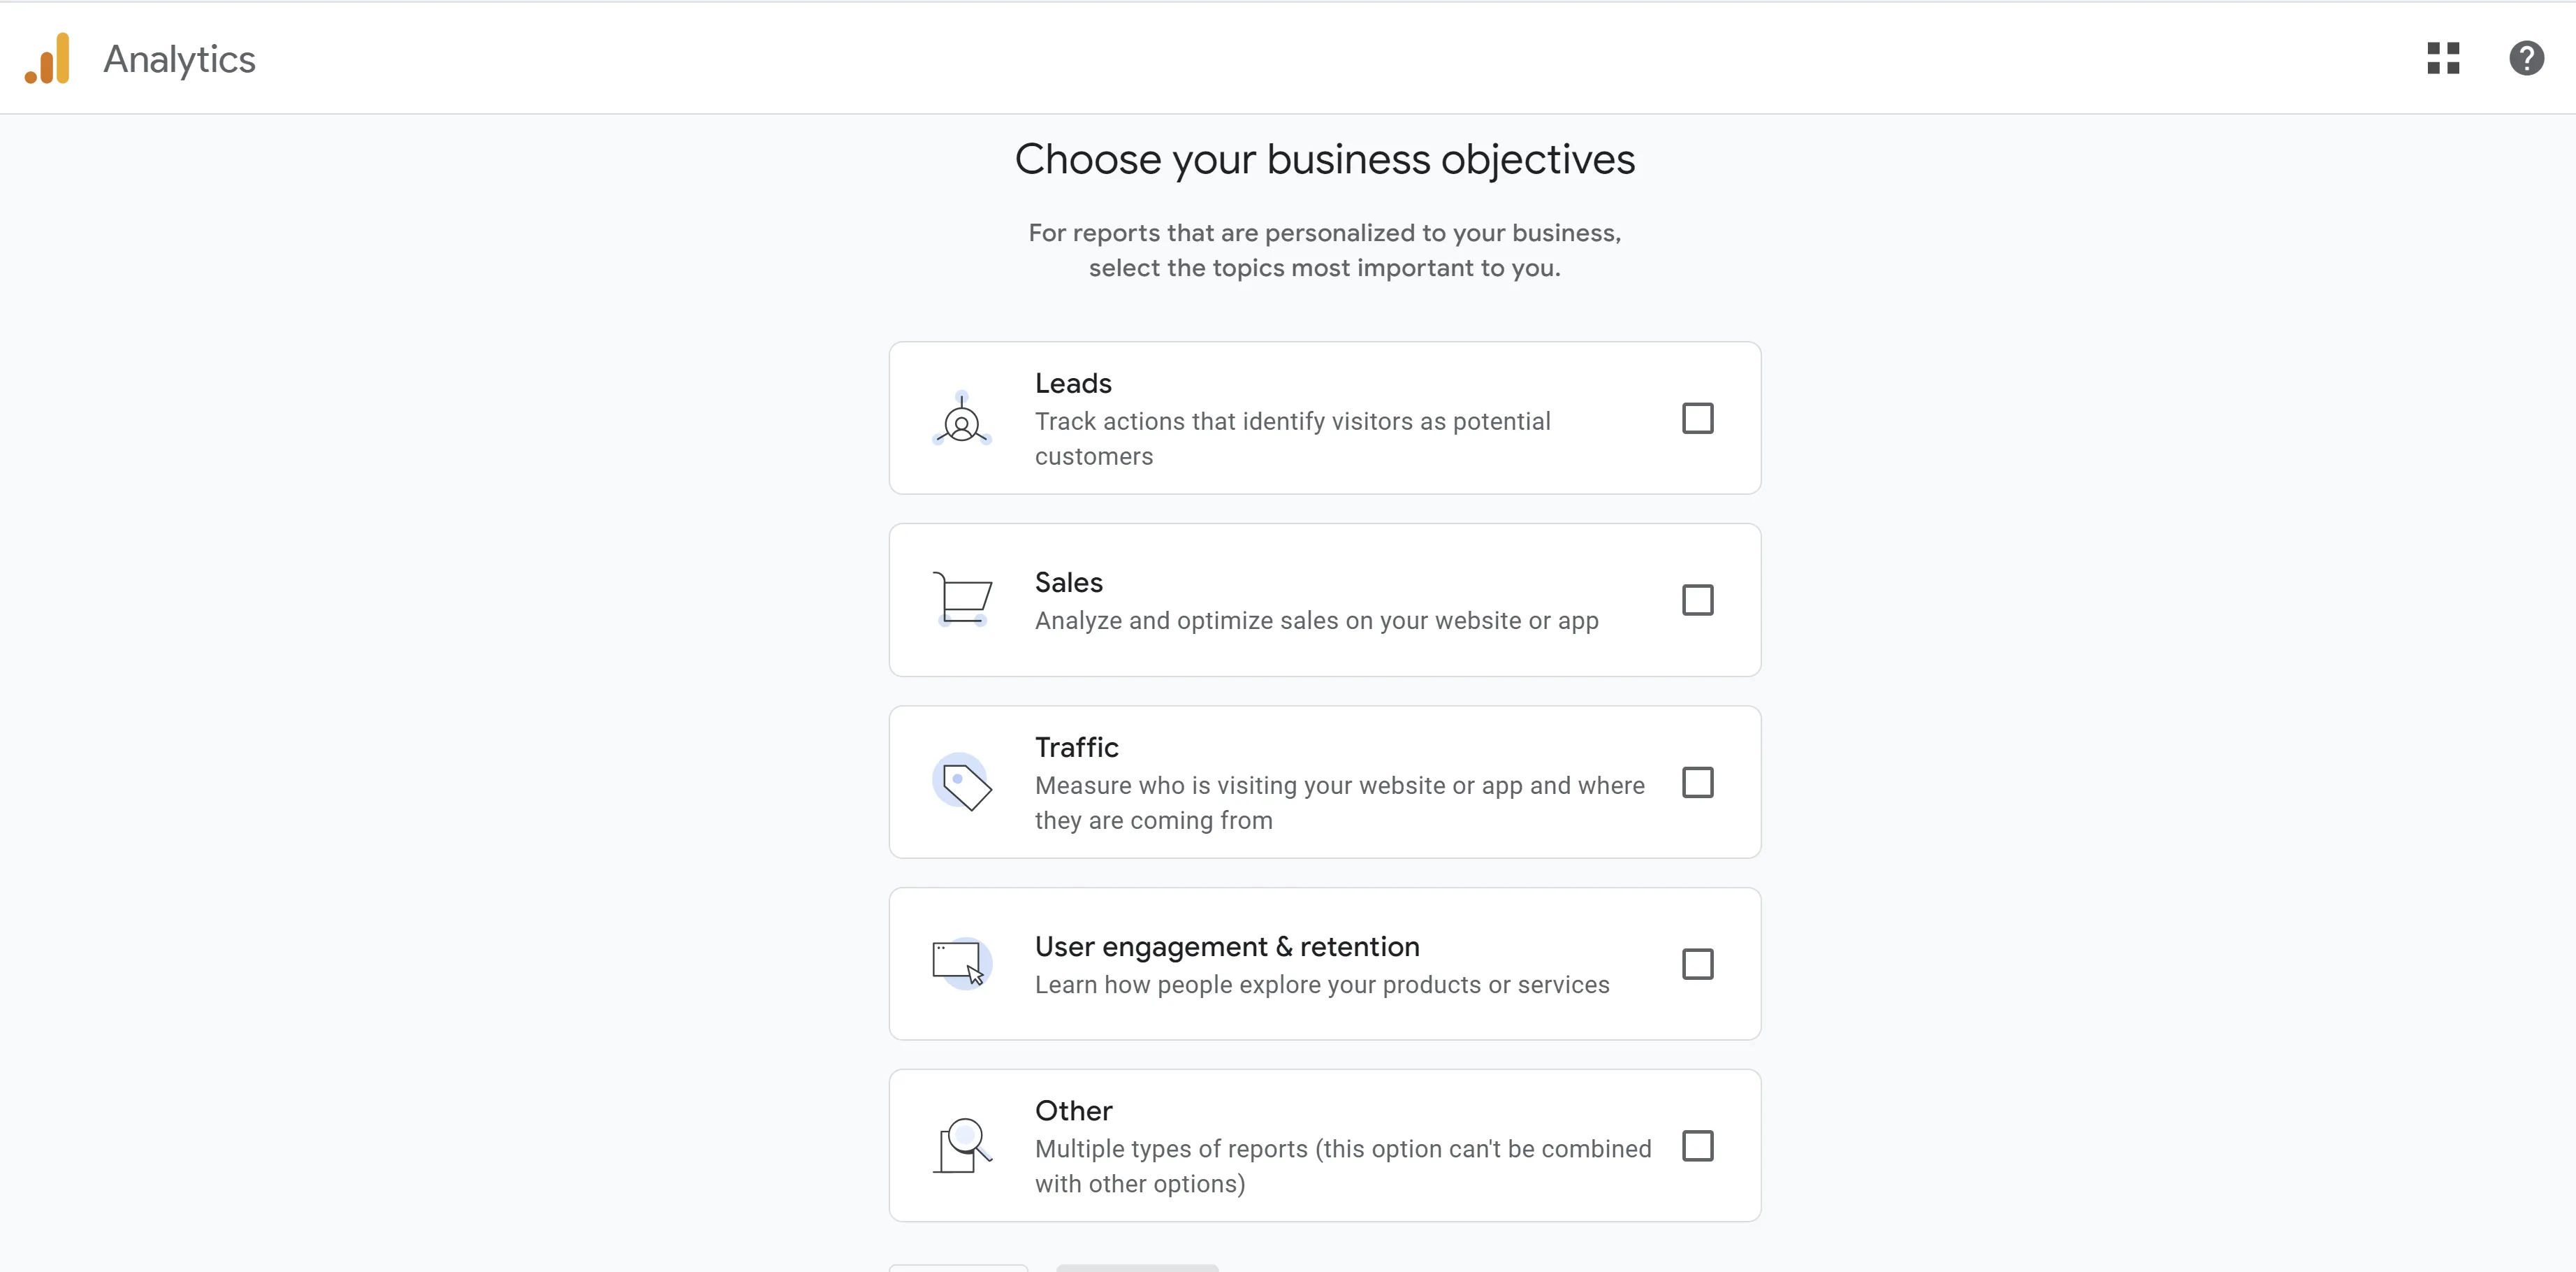
- Next, you’ll choose one of the following business objectives: Leads, Sales, Traffic, User engagement & retention, or Other. Depending on your objectives, GA4 will customize the reports so that they are personalized to your business.

Step 3: Install the Tracking Code on Your Website
After setting up your property, Google will provide you with a tracking code, also known as the Global Site Tag (gtag.js). This is a snippet of JavaScript code that collects data and sends it to your Google Analytics account.
- Copy the tracking code provided.
- Paste the code within the <head> section of each page on your website. If you’re using a content management system (CMS) like WordPress, you can install a plugin (like Insert Headers and Footers) to easily add the code.
- Verify that the code is working by checking Real-Time Reports in your Google Analytics dashboard.
Step 4: Link Google Analytics with Google Ads (Optional)
If you’re running Google Ads campaigns, linking them with Google Analytics will give you a more holistic view of your marketing efforts and allow you to track how well your ads perform in driving conversions.
- In the Admin panel, under the Product links section, click Google Ads Linking.
- Click the blue “Link” button
- Select your Google Ads account and link it.
Final Note
Don’t forget to regularly check your reports and optimize your site based on the trends and patterns you observe. Over time, as you become more familiar with the platform, you’ll be able to dive deeper into advanced analytics, setting up custom dashboards and exploring deeper insights using Google Analytics’ robust features. With these steps, you’ll have your Google Analytics account fully set up and ready to start collecting the data that can help you grow your business!


